At SmartStep Foot and Ankle, we believe that telehealth plays a large role in the future of foot care. For our patients across North and South Carolina, a telehealth visit is a powerful tool, but it’s much more than a simple video chat.
The fact is that In a virtual consultation, you become your podiatrist's eyes. Because of this, it’s important to know how to get the most out of your visit.
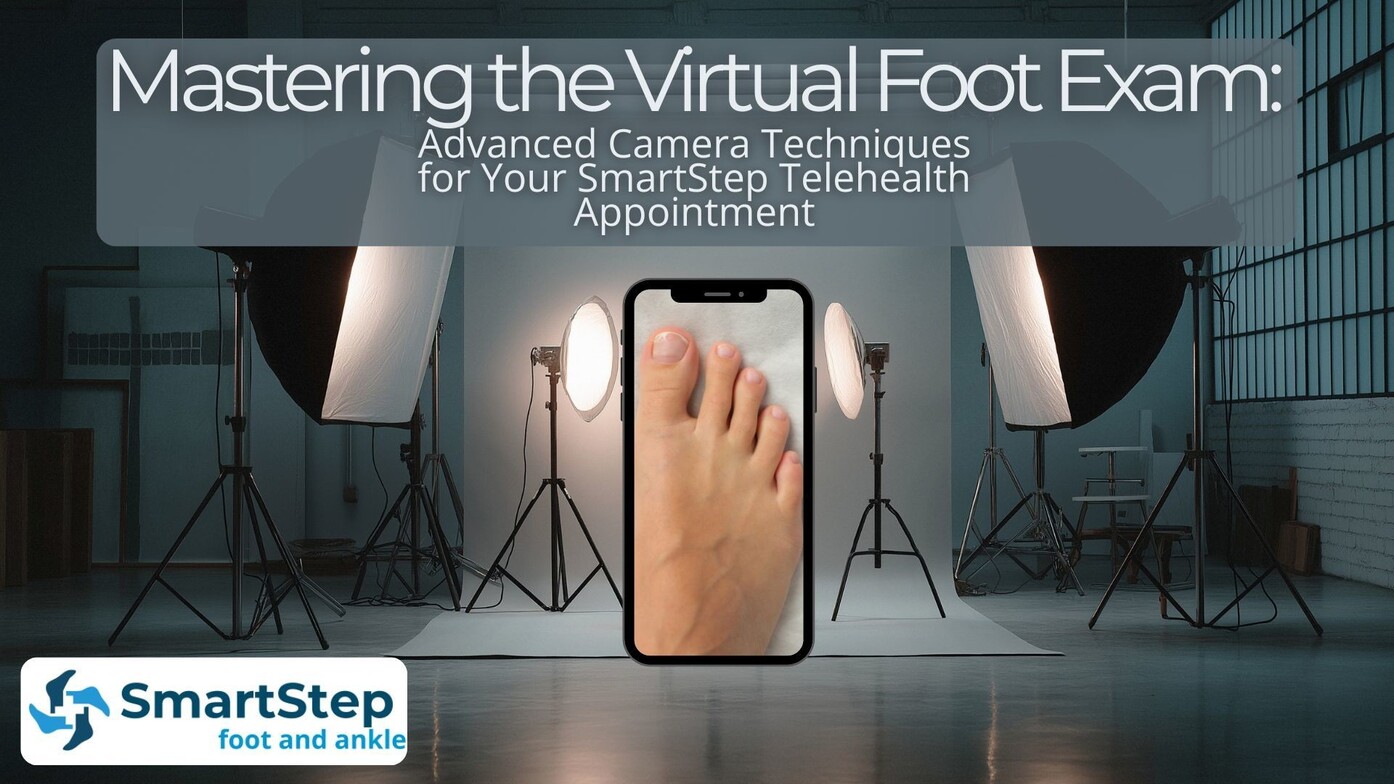
While you don’t have to be the next Martin Scorsese, your camera skills and preparation can affect the quality of your diagnosis and the precision of your treatment plan. To help you achieve diagnostic-grade clarity, we’ve got some advanced tips used by professionals to ensure your virtual foot exam is as effective as an in-person visit.
Beyond Brightness: The Advanced Science of Lighting Your Foot
The single most critical factor in virtual podiatry is light. Poor lighting casts shadows that can completely mask subtle, yet critical, details like skin texture, mild swelling (edema), or the true depth of a wound.
Lighting becomes even more important when you’re working with a smartphone or other video-enabled device that has a low resolution. While 1080p video or even 4k can be great, lower resolutions tend to hide important details. Poor lighting conditions can make it even more challenging to get a clear image during a telehealth podiatry visit as issues like harsh shadows can cloud and distort what your podiatrist can see (or not see.)
Eliminating the Harsh Shadow Problem
Avoid the Overhead Offender: Never position your foot directly under a single ceiling fixture like a recessed can light. This casts deep shadows under the toes and around the ankle, and these are areas your doctor must inspect.
Diffusion is Key: Natural daylight offers the most color-accurate view, so we recommend conducting your visit in a room that has access to windows. Position your foot about three to five feet parallel to a large window. If the direct sun is too strong, hang a sheer curtain or sheet to diffuse the light, making it softer and minimizing severe shadows.
The Two-Light Strategy for Dimensionality
For the most professional video and the best chance for high-value diagnostics, aim for a simple two-light setup to eliminate conflicting shadows and add necessary depth:
The Key Light for Primary Illumination: Your main light source (e.g., a window or bright lamp). Position it directly in front of your foot or slightly off to a 45-degree angle.
The Fill Light for Shadow Reduction: This secondary light is crucial. Place it opposite the Key Light. It "fills in" the harsh shadows, helping reveal texture, subtle swelling, and areas of redness that would otherwise be lost. It’s ok if the fill light is not as bright as the key light, but you don’t want too much difference.
The Texture Reveal Technique
This advanced technique is key for identifying minor inflammation or changes in skin texture, especially on the sole of the foot:
The Setup: Turn off all major overhead lights. Use a small, directional light source like a desk lamp or a second phone’s flashlight.
The Position: Place the light source almost level with the foot and aim the beam directly across the surface.
The Result: When light scrapes across the skin this way, it can reveal subtle elevations or depressions, much like a doctor running their finger across the skin in person.
Focus and Contrast Tips
Color Temperature: Avoid older, yellow-hued bulbs when possible, as they mask redness. Use LED bulbs labeled "Daylight" (5000K–6500K) for the most color-accurate view.
Background Contrast: Always place your foot on a solid, neutral background (a white sheet, a plain towel, or a wooden floor). This prevents the camera from auto-focusing on patterns and allows your podiatrist to focus solely on your foot.
Your Device: The Three Pillars of Virtual Clarity
In addition to lighting, your camera work plays a large role in the success of a telehealth visit. As mentioned, you don’t need to be a Hollywood professional, and SmartStep Foot and Ankle can work with all types of smartphones, tablets, and laptops; however, we have some tips to help you master the right techniques when behind the lens.
1. Rock-Solid Stability
A jumpy or blurry image is going to make things difficult to see. We encourage you to mount or stabilize your camera whenever possible to avoid shaking, jitters, or excessive movement.
- Pro Tip #1: Don't just hold the camera; use household items as stable mounts. A stack of books or a small phone tripod ensures the image is rock-steady.
- Pro Tip #2: If you must hold your device, try to brace your elbows on a table or counter to eliminate arm wobble. If your device has an auto-stabilization setting, make sure it’s turned on before your visit.
2. Targeted Focus
Before the call, test the use of your device's tap-to-focus feature on the exact area of concern (e.g., the edge of the toenail, a callus, or a rash). This locks the focus and light exposure, preventing the camera from auto-adjusting mid-exam.
3. Connection Check-Up
Bandwidth Test: Don't just rely on "good Wi-Fi." Before your visit, use a free online speed test to ensure you have a quality connection that can transmit audio and video. We recommend a minimum of 2 Mbps upload speed as your doctor needs the clarity you are sending.
Audio Enhancement: Use wired earbuds or Bluetooth headphones with a built-in mic. This frees your hands for camera maneuvering and blocks ambient noise, ensuring your doctor hears your symptoms clearly and that you can communicate clearly.
Photo Backup: If you know your connection can be weak, take the "Essential Views" (below) as high-resolution photos before your appointment. You can then easily share them via our secure patient portal or hold them up to the camera if needed.
Essential Camera Views for Your Virtual Visit
A static, one-angle view of your foot is rarely enough for a complete diagnosis. Your doctor will typically need at least three critical categories of views to accurately assess mechanics, pain points, and surface details.
The Weight-Bearing Views Used for Assessing Mechanics
Foot problems often only manifest when the foot is under stress, so we may need to see it bearing your full body weight.
The Static Stance: Place your camera low to the floor. Stand with your feet shoulder-width apart and capture the foot from the front and the back. The rear view is crucial for assessing pronation (rolling inward) or supination (rolling outward).
The Dynamic Gait: This is the most valuable view. Have your device propped at ankle height. Walk away from the camera for two steps, then turn and walk toward the camera for two steps. This shows your doctor how your foot lands and rolls, providing essential clues about your biomechanics.
The Non-Weight-Bearing Views Used for Inspecting Detail
Once your foot is elevated and relaxed, we can check minute skin, nail, and joint issues.
The Dorsal View (Top): For this view, you will rest your foot flat and capture the top of the foot and ankle. This is essential for observing swelling and joint issues.
The Plantar View (Bottom): You will sit comfortably and cross the affected leg over the opposite knee, bringing the bottom (plantar surface) of the foot completely into the frame. Focus the camera on the heel, arch, and ball of the foot. This angle is critical for visualizing calluses, corns, warts, and arch breakdown.
The Comparative View to Establish a Baseline
Many issues involve subtle changes in color or size. If an issue only affects one foot, your healthy foot becomes the control group.
Put both feet side-by-side in the frame, ensuring they are equally well-lit and in focus. Seeing the healthy foot next to the affected foot provides an instant benchmark for your doctor to gauge the true severity of discoloration or the extent of swelling.
Ready for High-Fidelity Foot Care? Schedule Your Telehealth Foot Care Visit Today in North Carolina or South Carolina!
If you're still concerned about getting the right views, don't worry. At SmartStep Foot and Ankle, your doctor will guide you through the process, providing step-by-step instructions at your pace. Plus, our telehealth podiatry services mean that you can visit with your us in the privacy and comfort of your own home.
Schedule your virtual visit from anywhere in North Carolina and South Carolina right now!
Dr. Thurmond Lanier
Contact Me